How Much Do Beans Like Biochar?

1 Comment

By now I’m sure you’ve heard all the buzz about adding biochar to your garden soil. But, I thought, how much difference could it really make? I’ve been working for years on the soil in my garden. It’s full of organic matter from homemade compost and carefully mulched. I fortify it with kelp and fish meal. The worms seem to love it.

In order to test it out, I planted ten seeds of ‘Black CoCo’ beans in each of two identical slightly raised 3’x3′ beds that held onions until July. I added compost, fish meal, kelp meal, and a small cupful of Sure Start to each bed. Then I added a quart of Soil Reef to only one of the beds. (Just for the record, I have no connection with Soil Reef, or it’s makers. And Soil Reef does contain compost and worm castings along with the biochar.)

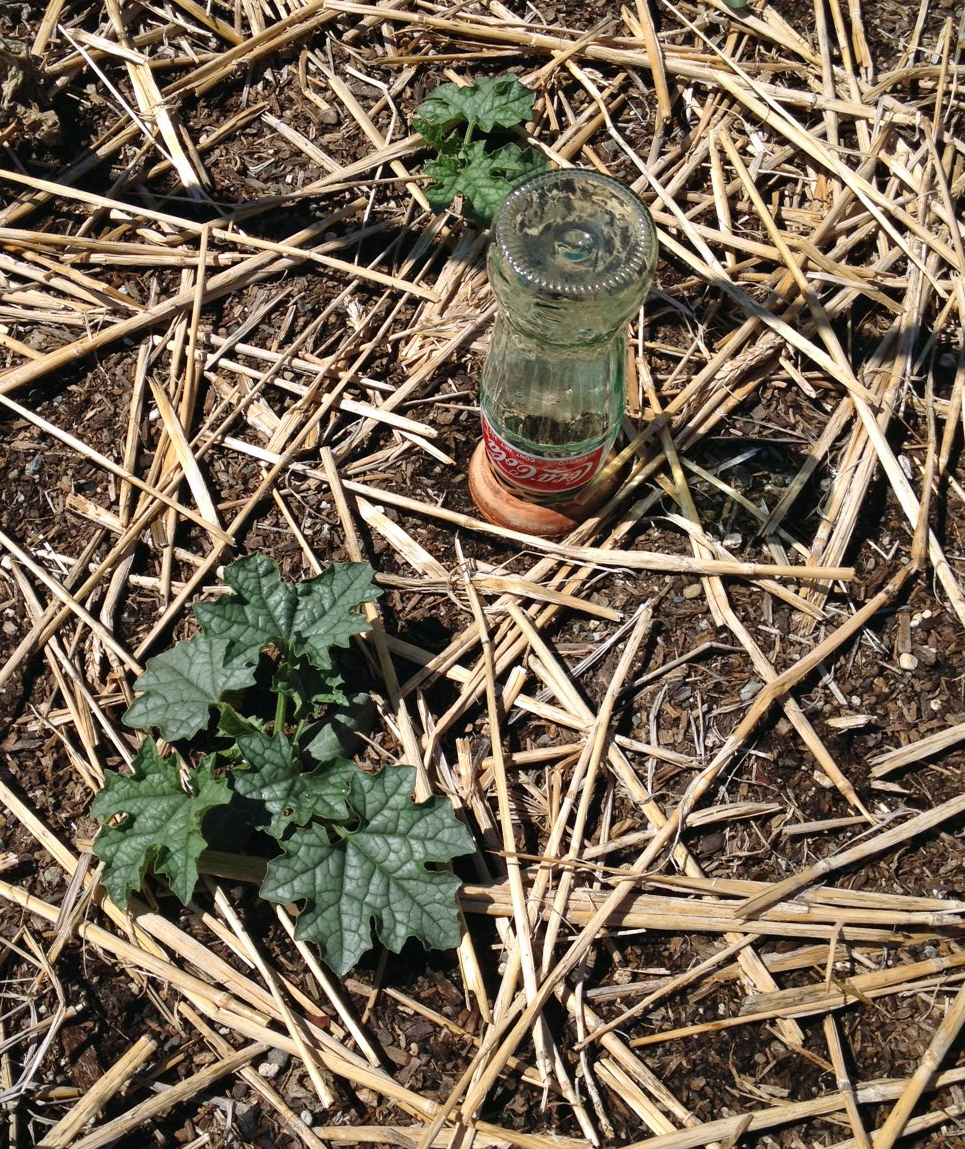
In each of the beds 8 of the 10 seeds I planted germinated over a span of 12 days or so, The young plants did well in both beds, though the Soil Reef beans seemed perhaps a bit greener than the untreated bed. Then it got really hot and dry and I got very busy with work and couldn’t water nearly as much as I wanted to.

Black Coco Beans in Drought Conditions
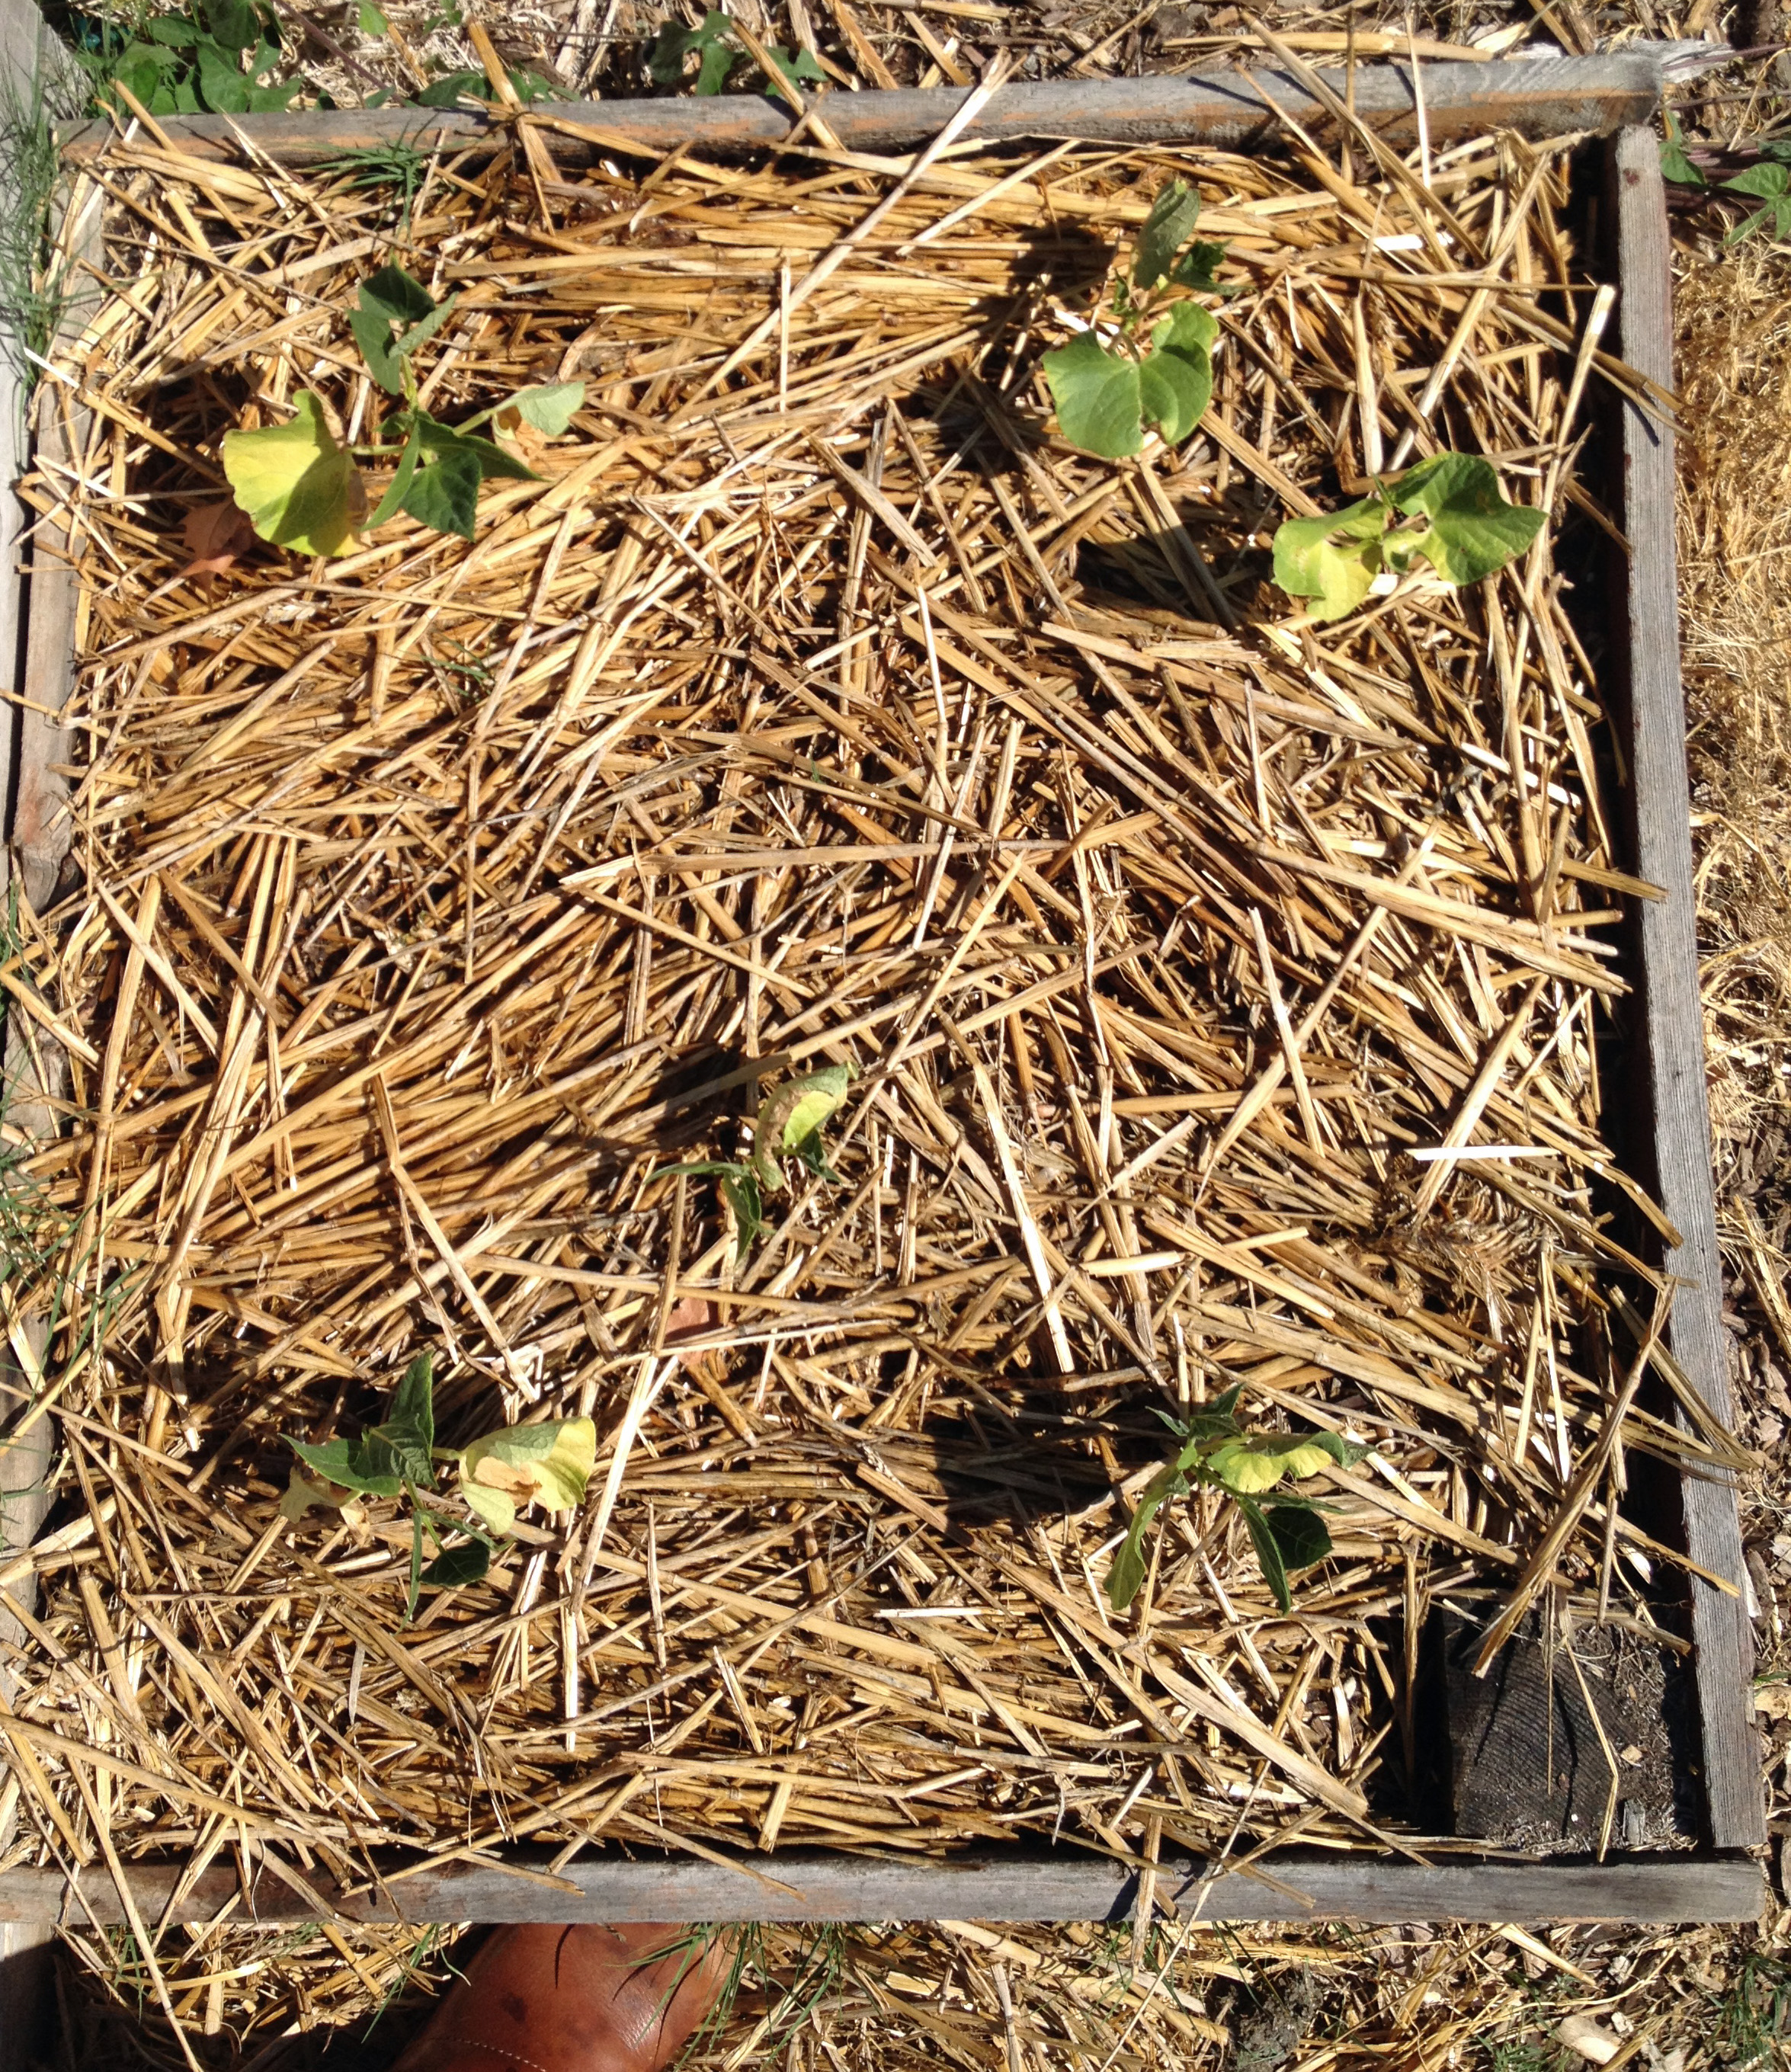
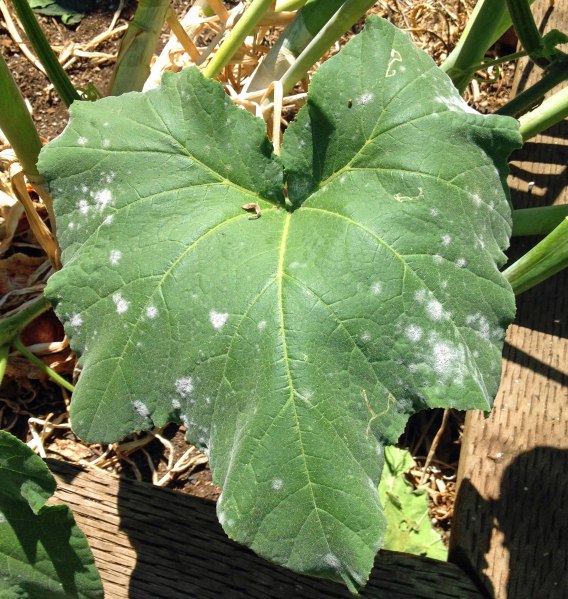
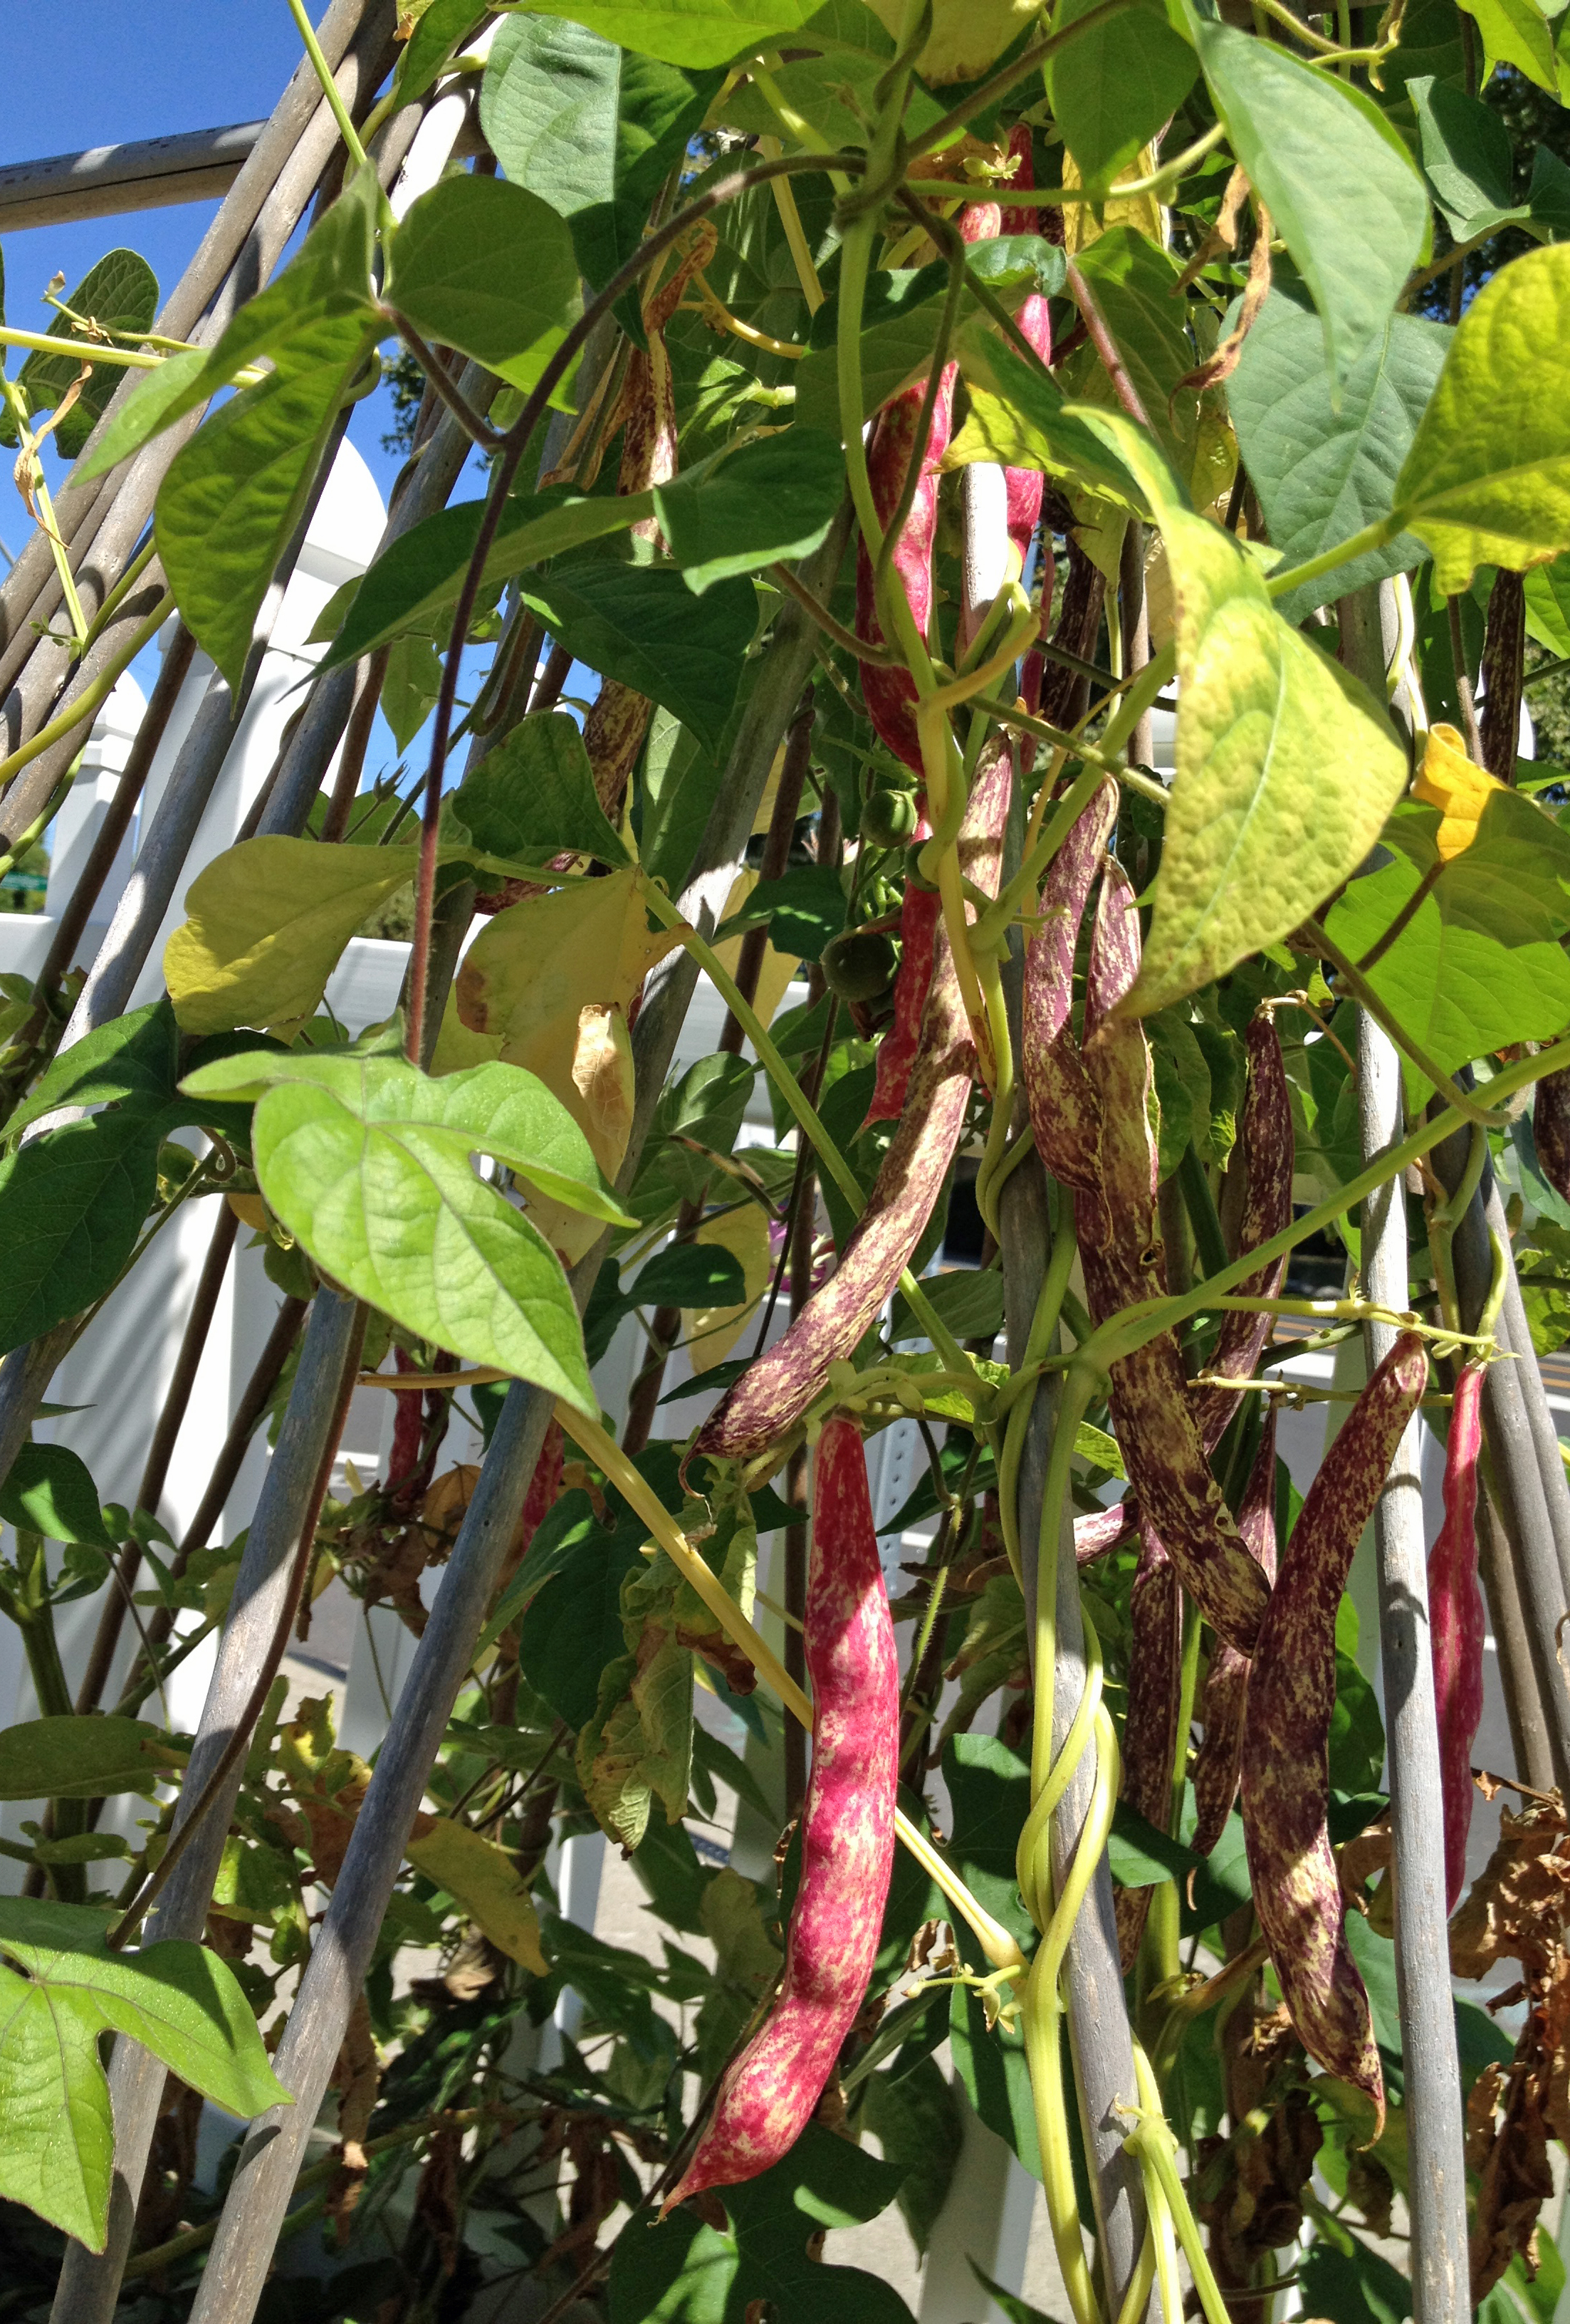
The smallest of the seedlings died and the others lost several of their leaves. In the regular bed, that is. Both plantings were lightly mulched with straw before germination and then more straw was added to retain moisture after the seedlings were up. This was not enough to sustain the beans planted in my usual soil mix very well through the drought. And the Soil Reef patch? A leaf or two was lost there as well, but the plants are bigger, greener, and much more vigorous.

Coco Beans with Soil Reef Biochar
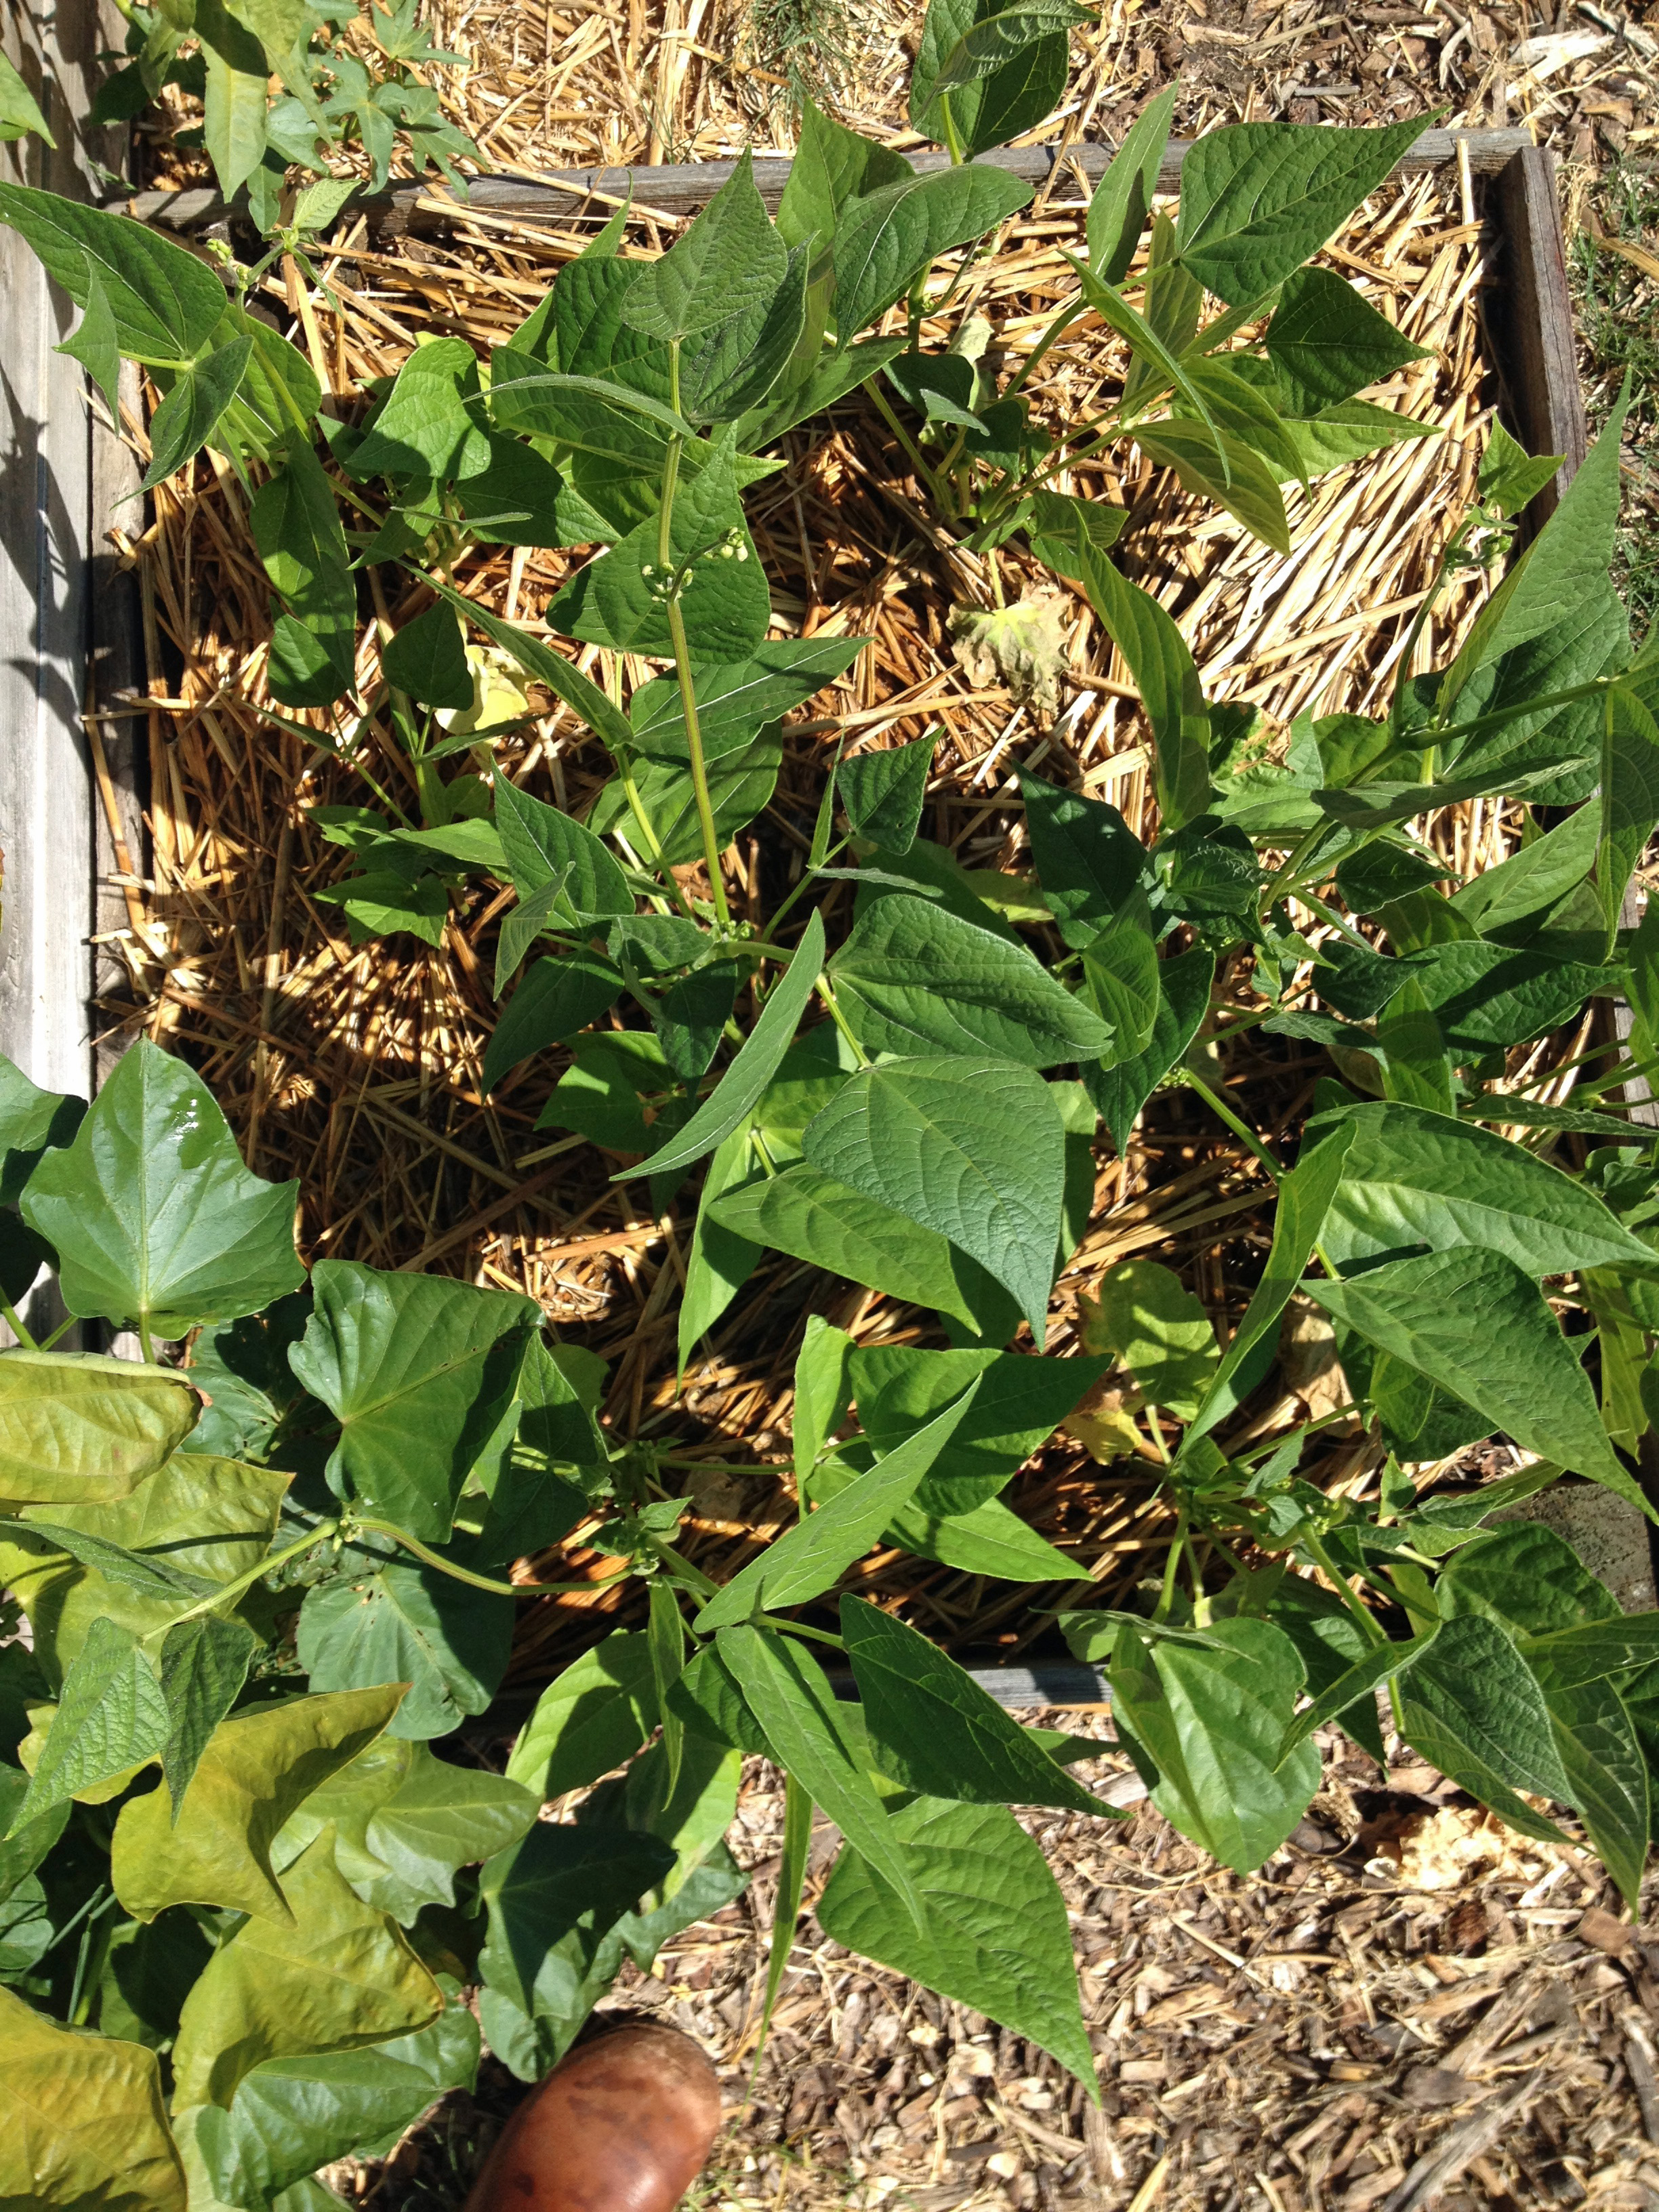
These two pictures were both taken today. I left the toe of my shoe showing in both shots to give you a size reference. The leaves you see on the bottom left corner of the Soil Reef patch are sweet potatoes. And they present our second potentially confounding factor. Both bean patches are adjacent to a large rectangular sweet potato bed, in my standard soil mix. And it just so happens that the end of the sweet potato bed nearest the unhappy CoCo beans is not growing as well as the end near the happy, Soil Reef CoCo beans. There is also a large sunflower near the sad bean patch, which may be hindering the growth of both the beans and the sweet potatoes.

Even with the usual confounding factors found in the average urban garden, this experiment looks well worth repeating to me. What about you? Are you adding biochar? What sort of results have you had with it?

Squashing the Whitefly Invasion

12 Comments

It must be August, because my squash leaves are starting to look pretty sad in places. I noticed the beginnings of a whitefly problem a few nights ago and tested a new do-it-yourself spray on a group of leaves. Two days later, the test leaves looked great, but the rest of the squash patch was starting to show more serious signs of infestation. Today I sprayed the top and bottom surface of every leaf I could find with evidence of whiteflies and then some. I’ll track the results in a few more days and update things here.

The varieties of squash in the patch are:

‘Vegetable Spaghetti’ (C. pepo)
‘Candy Roaster Melon’ squash (C. maxima)
‘Upper Ground Sweet Potato’ (C. moschata)
and ‘Jim’s Butternut’ (C. moschata)

This last one was saved from ‘Waltham Butternut’ many years ago and kept going by a neighbor. It grew 25 foot vines with 10 fruit on a single vine in 2012. If some of that productivity crosses into my ‘Upper Ground Sweet Potato’ seeds for next year, maybe it will be a good thing!

The ‘Spaghetti’ squash is suffering the most from the whiteflies, though I first noticed it on the ‘Upper Ground Sweet Potato’ leaves. Maybe I didn’t notice it on the ‘Spaghetti’ squash because it’s harder to get to their part of the patch? The ‘Candy Roaster Melon’ is clearly the least affected. It’s much slower growing than the other varieties and is just now, in August, starting to flower. I have yet to find any research on differing vulnerability to whitefly across squash species, so the differences I see may have other causes. It is certainly too early to say that C. pepo is more likely to suffer whitefly infestation and C. maxim is more likely to fend it off—but that’s a theory that might turn out to be worth testing.

Homemade Whitefly SprayThe spray that I made started with 1 Tsp of Dawn Advanced Power liquid dishwashing soap mixed into 1 cup of vegetable oil. This makes a concentrate that you then mix with water in your sprayer. Add 1 1/2 tsp of the concentrate for each cup of water you add into the sprayer. I mixed 3 cups worth at a time in my regular household spray bottle. Next time I will seriously consider a backpack sprayer. In order to control whitefly everything I have read emphasizes the need to spray both the tops and the underside of the leaves. This can quickly become a tedious and finger-numbing project with your average spray bottle.

Next year I will plan ahead. The U.C. Davis Integrated Pest Management site says, “Several wasps, including species in the Encarsia and Eretmocerus genera, parasitize whiteflies. Whitefly nymphs are also preyed upon by bigeyed bugs, lacewing larvae, and lady beetles.” Buglogical has additional suggestions to try. If I manage to establish populations of these good bugs in my garden before August next year, maybe we won’t see the whiteflies at all.

Do you have a whitefly cure that works well in your garden? Please share it in the comments. And if you have tried something that didn’t work, I’d like to hear about that as well.

Updated August 31, 2013

The spray has had mixed results. The plants are still going, and new fruit is even being set, but there is noticeable damage from this pest on a number of leaves. Below is an example from the ‘Butternut’ patch.

Butternut Squash Leaves

Butternut Squash leaves treated with homemade whitefly deterrent.

The growing tips look healthy and you can see at least one young squash has been set during the Whitefly/Mildew invasion. But a number of leaves may have been too damaged to recover. And the nastiness is clearly spreading again.

Spaghetti Squash Leaves with Whitefly or Mildew

Both sets of leaves you see here are from the same Spaghetti Squash, one clearly much more affected than the other.

Only the few five-fingered leaves you see here are not from this plant. Seeing these leaves so close together, clearly growing in the same conditions, makes me wonder about the variability for disease resistance in these squash.

Heat Wave Gardening

Leave a comment

Image

The most important thing we’re trying to do in the summer garden is recover from the nine-day heat wave that has stressed or killed our project plants this year. It was an unusually dry winter here in Northern California, so soil moisture was already low moving into a dry and warmer than average spring. Shifting to an evening watering schedule has given the plants more time to recover before the heat of the day dries the soil.

Image

We are covering all the growing areas with straw mulch, even seed beds, and increasing the mulch until it’s several inches thick after plants are growing well. We are also testing out these Terra Cotta Aquacone Watering Devices from gardeners.com. I bury the terra cotta in the soil with only the top lip showing and upend bottles into them to help keep soil moisture where it is needed. Seems to be working well for these young Luffa starts.

Sweet Potato Vines

If you can tell which variety these are by the leaf shapes–please share!

One crop that seems perfectly happy with the weather is the sweet potatoes. Finally! The experts at Sand Hill Preservation Center say, “It takes about 1,200 heat units for our early varieties to reach a decent crop of usable sized roots…The question you must then ask yourself is, ‘How is 1,200 heat units determined?’ To get heat units you take the day’s high temperature (maximum) and the day’s low temperature (minimum) and add them together. Then divide by two and subtract 55 from that. That gives you the day’s heat units.” So, if our daily averages during the Heat Wave were at least 90 during the day and probably warmer than 60 at night, that gives us easily 20 heat units a day. Two months of that and we have a nice crop of delicious sweet potato pies! Of course, the heat wave did eventually break, but even so, if we stay at historical average temperatures for the rest of the summer, that still gives me plenty of time to enjoy sweet potatoes by fall.

Borlotto Beans

Another wonder of the heat is that we had beans drying down by the 4th of July. If I am very nice to the runner and Borlotto bean vines, we have time for a full second cropping of beans this year. I was so excited by this prospect that I started another dozen perennial bean vines just the other day. They should have plenty of time to get established by fall and then start cropping early next spring.

What helps your garden survive the heat? Share your ideas with us in the comments.

Carrots From Root to Flower

Leave a comment
Carrot tops sticking out of the soil

No Crowding the Carrots

I can often be found in the garden munching a carrot I couldn’t resist pulling out of the soil and hosing off while I worked. All in the name of proper thinning, of course. Unlike the peas you might consider serving them with, carrots do not like to be too crowded.

It took me several years to get the hang of how to encourage decent carrot seed germination, but lately my carrot luck has extended all the way to the final stage of seed saving. Last fall was the first time I attempted to plant carrot seed I had “saved” by way of forgetting to harvest a couple of carrots that later went to see among the bean poles where I couldn’t see them. I hoped they were purple carrots, the part still sticking up out of the ground certainly didn’t look orange anymore, but when the seeds came up this spring, the roots were mostly a very pale and not especially tasty yellow. Carrots  are an insect pollinated biennial, so chances are that either pollen from another carrot variety was introduced to my purple carrots, or the purple carrots I hoped I was letting go to seed were hybrids that wouldn’t breed true for the purple characteristic that I wanted.

Carrot FlowersThis winter I set aside a much more carefully protected carrot patch in the back garden where a known variety of carrots was grouped together and no other carrots, or other umbels at all, were allowed to flower. I’m just now starting to see flower heads drying enough to save seed and can’t wait to try planting them once the rains start this fall.

The problem is that by the time you save enough carrots to get good cross-pollination, you have just made sure you will have enough carrot seed for an entire army of urban farmers, and their friends. For home use, I just save the seed from the best, largest, and usually first flowers, the Primary Umbels. They make the highest quality seed. If you care to nerd out on such things, the way I do, here’s seven pages worth of research on the facts. And, if you want to see a great picture of the actual carrot seeds, don’t miss this one from the Carrot Museum, yes, seriously, that shows a group of carrot seeds under a microscope. Check out all those tiny hooks!

And leave me a comment if you want to know where you can send an SASE for some free carrot seed!