Have you ever looked out at your garden and wished you could start all over with what you know now and make the whole thing again? I’ve done a couple garden remodels over the years but recently I’ve dug into a brand new vegetable garden in a new gardening spot and it’s been fun–and educational–starting again.
The Pacific Northwest is famous for its ability to deliver moisture, so I started with raised beds. The Vego raised beds met my needs and so far I’m happy with them. Their dimensions work well for someone my size. And some of the accessories are pretty cute. And they won’t rot in the rain. Here’s what their website has to say about the material the beds are made from
highly corrosion-resistant steel substrate, hot-dip-coated in a specialized layer of Zinc, Aluminum, and about 3% Magnesium. While Aluzinc is quite impervious, the addition of Magnesium to this formula revolutionizes the metal’s ability to resist corrosion, especially on cut or raw edges. Over time as a cut edge of the metal is exposed, the Zinc and Magnesium work together to form a protective film, sealing the exposed steel substrate and protecting it from rust and corrosion.
https://vegogarden.com/pages/feature-material
They have worked well in a few other places I’ve gardened.

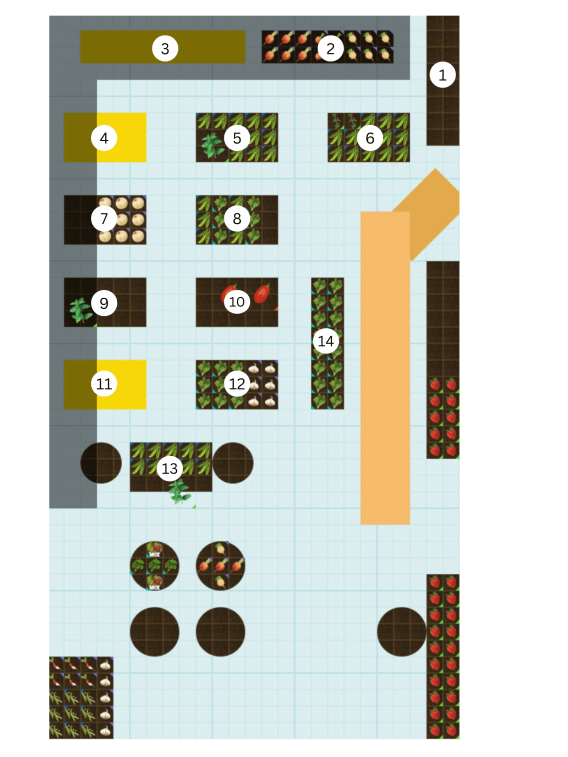
The majority of the beds in my current plan are 17″ deep. The beds went straight onto the grass (and weeds) and were filled three quarters of the way with a gardening mix recommended by the folks at the local community garden that was trucked and then wheelbarrowed in. Not my favorite part of growing food.

9 January 2026
One of the first things seeded for 2026 was carrots. I missed my chance to over-winter them but on January 9th I planted four sqare feet of carrots. Scarlet Nantes from Botanical Interests which mature, under perfect conditions, in 75 days are my idea of the quintessential carrot and I wanted to see how the others did against the classic Nantes variety. Speedo F1 from Territorial Seed which matures, again, if everything goes right, in 65 days. And Narvik F1 from High Mowing Organic Seeds which matures in 72 days.
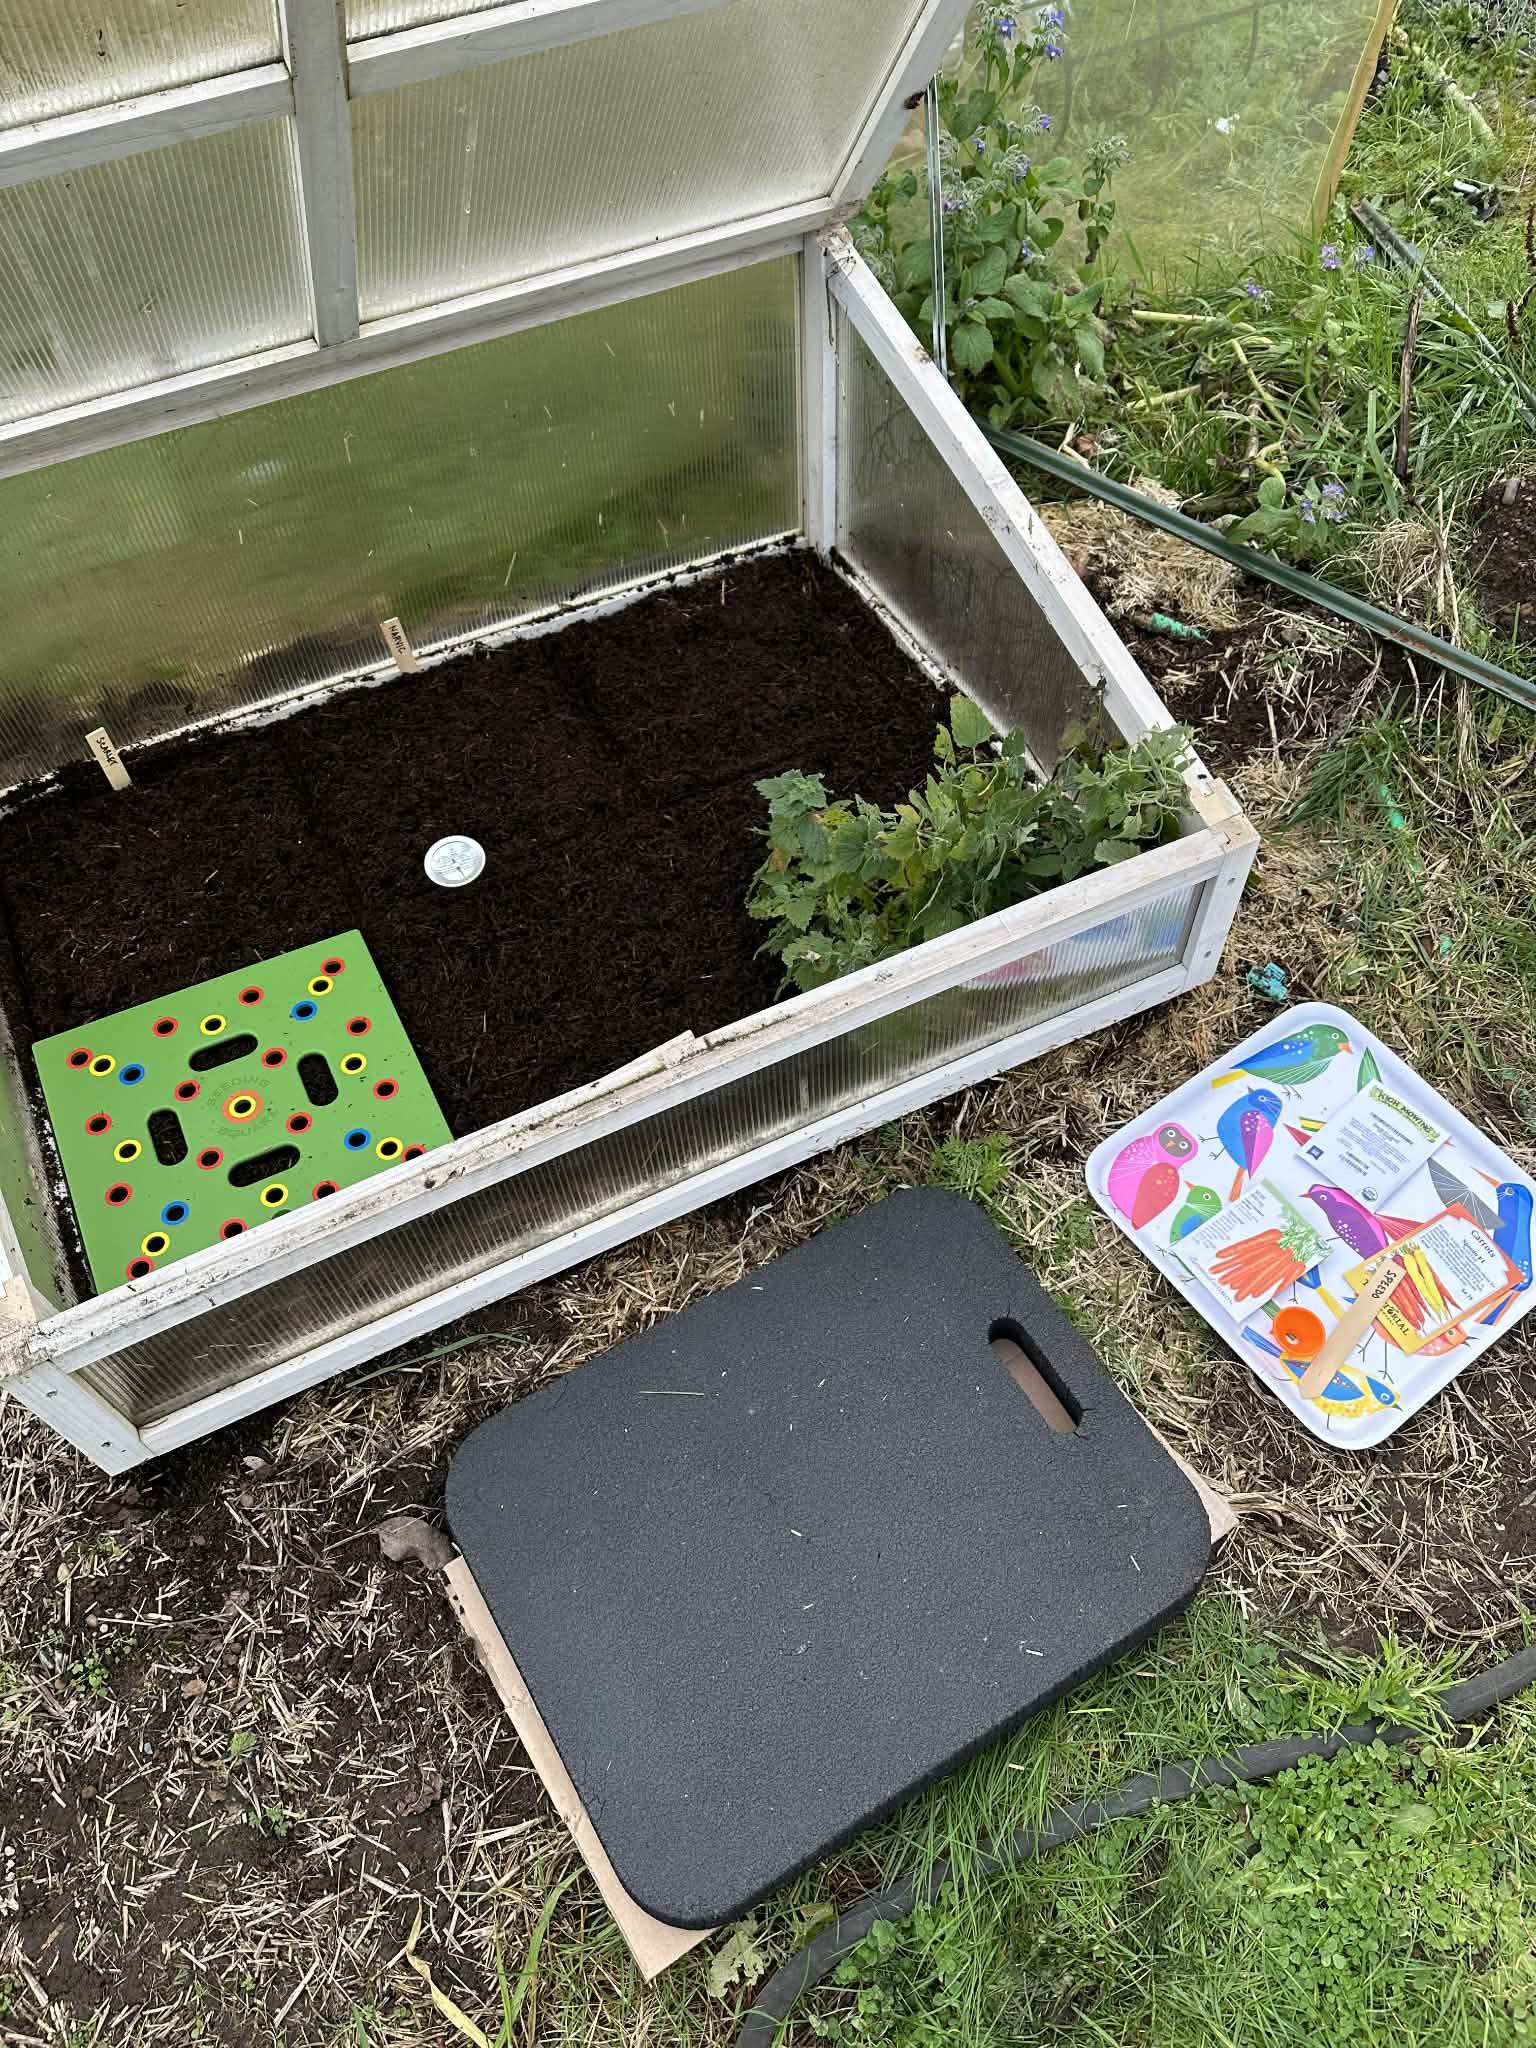
The cold frame is set out in a less-windy section of the garden where mostly squash grew last year. Two square feet of the ‘Scarlet Nantes’ and one square foot each for ‘Speedo F1’ and ‘Narvik F1’ and what’s left of a mostly-mangled catnip plant which could use some time to recover from the attention of the neighborhood cats. The cold frame will get covered with an additional layer of greenhouse plastic during the coldest days.
4 February 2026
I’m happy to report that in spite of some unusually cold-for-us nights below 30 degrees, the first of the carrots have sprouted, 26 days after planting. I usually allow three weeks for carrot seeds to germinate in warmer temperatures in my regular beds, so I’m happy with that because it means I have carrots growing on the 4th of February. Will ‘Narvik’ stay out ahead of the other varieties? Will we be eating fresh carrots by April 17th? I hope so!
What experiments are planned for your Spring garden? I’d love to hear about them.